 0161 962 7261
how to plan a kitchen for an extension or knock-through (without things going sideways)
Quick answer: Bring your kitchen designer into the project on the same day as your architect, not after planning permission is granted. Services positions, ceiling type, floor levels and glazing layout are all decided early in the architectural process, and every one of those decisions shapes what the kitchen can be. Correct sequencing at the start prevents the majority of costly on-site surprises.
A kitchen extension sits at the intersection of architecture, building work and interior design, and that is precisely what makes it difficult to get right. Most homeowners engage a kitchen designer after planning permission is secured. By then, critical decisions have already been made: where the gas point sits, how the ceiling will be treated, how much wall space the rear glazing leaves, what the floor build-up height will be.
This guide covers the full coordination picture for anyone planning a kitchen alongside an extension or knock-through in 2026, what to do, who to brief, and crucially, what order to do it in, so the kitchen you end up with is the one you planned for. Discover how long you should realistically spend planning a kitchen before making any major decisions.
bring your kitchen designer in on the same day as your architect
The single most effective step you can take is involving your kitchen designer at concept stage, ideally the same week you appoint your architect, and certainly before the planning application is submitted.
Many homeowners assume the building has to take shape before the kitchen conversation can begin. In practice, the reverse is true. Architects make dozens of early decisions that directly constrain the kitchen: where windows and doors fall, whether the ceiling is flat or vaulted, how services will route through the new structure, and how deep the extension footprint is. A kitchen designer working alongside the architect from the start can flag the kitchen implications of each decision before they become fixed in the drawings.
The cost of late involvement is concrete. Moving a gas termination point 1.5 metres to the left is a straightforward day’s work during the build — and somewhere between £900 and £1,400, plus real disruption, once units are in position. Full-width rear glazing approved at planning without a kitchen designer’s input can eliminate every wall available for tall storage columns. These are not unusual oversights. They are the default when kitchen design follows architecture, rather than running alongside it.
Involving the kitchen designer early does not delay the project. It typically saves two to four weeks of design rework after the structure is complete, and almost always prevents at least one meaningful cost on site. Explore why the traditional kitchen triangle is disappearing from modern kitchen design in 2026.
the three-way coordination: designer, architect and builder
Once all three parties are engaged, the challenge shifts from timing to communication. A clear model of who briefs whom, and when, prevents the gaps that produce costly on-site changes.
| Party | Key kitchen-relevant decisions | Must be briefed by |
|---|---|---|
| Architect | Ceiling type, structural openings, wall positions, window and door falls, roof treatment | Concept stage — before planning application |
| Builder / structural engineer | Services routes (gas, waste, extract), screed depth, UFH zone layout, wall-out and ceiling-height tolerances | Before groundworks and first fix |
| Kitchen designer | Extract route confirmation, appliance service positions, finished floor level, threshold details, MVHR soffit allowance | Before first fix; revisit pre-second fix |
The most common failure mode in this triangle is the kitchen designer being introduced after plastering is complete. At that point, any service-position change requires chase-outs and making good — at your cost and the project’s schedule. The governing principle is simple: kitchen service positions should be agreed and marked up on site before groundworks begin.
For further guidance on building regulation requirements in extension projects, the Local Authority Building Control (LABC) website is a reliable starting point. For coordinating a kitchen designer alongside an architect at concept stage, the Royal Institute of British Architects (RIBA) publishes client guidance on building design appointments.
services planning – gas, water, drainage and electrics
Services are the most underestimated element of an extension kitchen. In a standard refurbishment, services typically move a metre or two within the existing space. In a rear extension, they may travel six to eight metres through new structure – and each carries specific requirements that need planning before the floor goes in.
Gas: A hob relocating to an island in the new extension space requires a gas run that may need to cross under floor screed or route through joists. This must be planned with a Gas Safe registered engineer at first fix. The proposed route should be confirmed before screed is poured – not after.
Water and drainage: Additional tap points in a rear extension require a waste run back to the soil stack. Gravity drainage demands approximately 20mm fall per metre of pipe. A long rear extension can push a gravity run close to its practical limit, at which point a pump-assisted system will be needed. A plumber should confirm the viable route before the floor build-up is specified.
Electrics: An extension is an ideal opportunity to upgrade the kitchen to a dedicated consumer unit circuit. A well-specified first fix for a fully equipped kitchen should include: a 32A circuit for the oven, a dedicated circuit for the induction hob, a switched spur behind each integrated appliance location, and sufficient 13A unswitched sockets above and below worktop level to avoid trailing leads.
Extraction: In a rear extension, the extract route from the cooker hood to the exterior may have to cross structural steelwork or travel a considerable distance to reach an available external wall. The route must be agreed with both the kitchen designer and the structural engineer before steelwork is fabricated – a 150mm extract duct that was not planned for is very difficult to accommodate retrospectively.
ceiling choices and what they mean for the kitchen
The ceiling decision in an extension is usually made on aesthetic grounds. Both flat and vaulted ceilings work well in kitchen extensions. Both carry specific consequences for the kitchen design that are worth understanding before the architectural drawings are finalised.
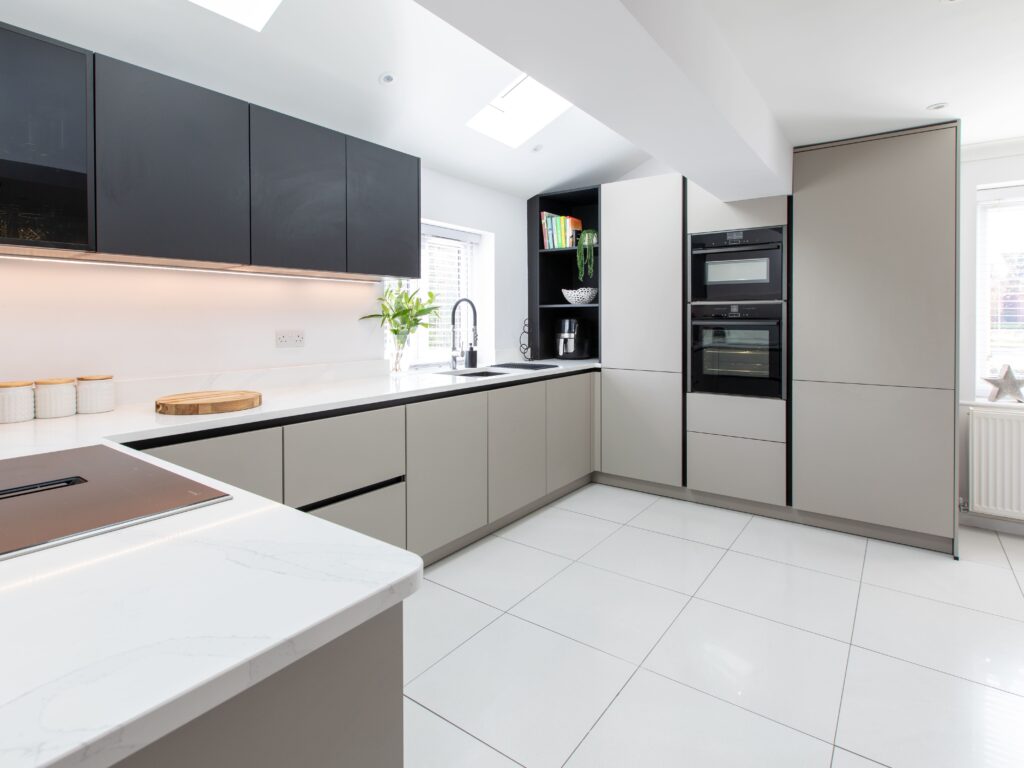
Flat ceiling: A standard flat-ceiling extension runs at 2,400–2,600mm finished height. This gives clean clearance for tall cabinetry at 2,100mm or 2,300mm – larder columns, integrated fridge-freezers, full-height units – without filler panels or visual compromise. If maximising storage in tall columns is a priority, a flat ceiling is the most straightforward structure to design against.
Vaulted or pitched ceiling: Visually dramatic and increasingly popular, but the sloping line limits where tall units can sit. A vaulted ceiling that peaks at 3.5m and falls to 2.2m at the eaves may offer only 300–400mm of usable height for wall cabinetry across much of the room. Many vaulted extension kitchens end up with base units only at the perimeter, relocating storage to an island or a separate pantry zone. This is a legitimate design solution – but it needs to be a deliberate choice, not a surprise discovered at the design stage.
MVHR (Mechanical Ventilation with Heat Recovery): Increasingly specified in well-insulated extensions, MVHR systems require ducting, typically 100–160mm diameter, running through a ceiling void or concealed behind a dropped soffit. If your design includes MVHR, the kitchen designer must be told before ceiling heights are fixed. A 200mm service soffit running along one wall is a significant kitchen design constraint, it reduces effective height for tall units and can affect the visual line of the whole kitchen. Plan it in from the start.
floor levels, thresholds and what lies beneath
Extensions commonly introduce a different finished floor level from the main house. Insulation requirements, structural floor changes and underfloor heating build-up can mean the new space sits 40–80mm higher than the existing kitchen – and that threshold has consequences for the kitchen design.
Standard kitchen plinths run between 100mm and 150mm high. If the extension floor rises 60mm above the existing level, the plinth specification for the new zone needs to account for the actual floor surface, not be carried over from the existing space. Across a long kitchen run, a plinth-height discrepancy at the junction point is visually obvious and structurally awkward to correct once cabinets are in.
For underfloor heating, three pieces of information need to reach the kitchen designer before the design is finalised:
- The screed or systems-floor depth – typically 65–100mm for a wet UFH system, 15–22mm for a dry overlay system
- The zone boundaries – plinths and base-unit toe-kicks should not sit across a zone boundary
- The finished floor level relative to the existing space, so unit heights and appliance clearances can be calculated accurately
A floor-level discrepancy identified at design stage costs nothing to resolve. One discovered on installation day costs time, rescheduling, and occasionally remedial structural work. See how careful early planning can help create a more practical, beautifully resolved kitchen space.
glazing and bifold doors – how natural light eats wall space
Full-width glazing and bifold doors are among the most requested features in rear extensions. They are also the decisions with the greatest impact on kitchen design, because they effectively remove a wall from the kitchen designer’s palette.
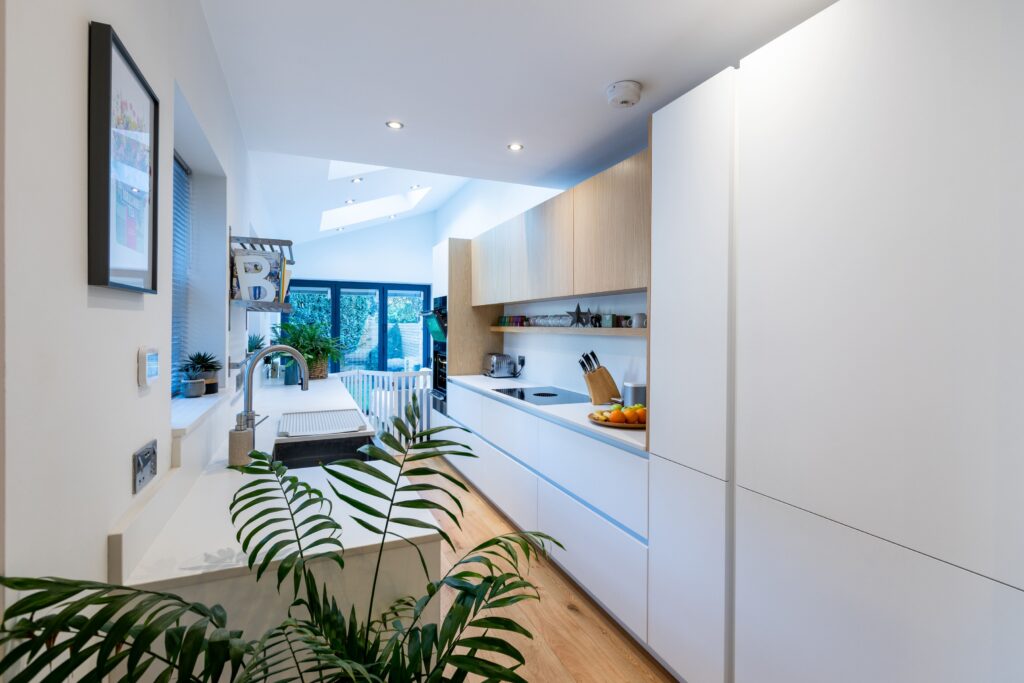
A standard 3.5-metre run of bifold doors eliminates most of the rear wall for cabinetry purposes. If that wall was intended to carry tall storage or a run of wall cabinets, the design must find that storage elsewhere – typically in an island, a deeper base-unit run, or an adjacent pantry zone. None of these are problems; all of them need to be designed in, not improvised.
Three practical points worth raising before glazing positions are finalised:
- Head detail and wall-cabinet height above the door frame: Most bifold and sliding door systems leave 200–400mm between the frame top and the ceiling. Standard wall cabinets (typically 350–720mm high) will not fit cleanly in this gap. Open shelving, a glazed unit, or a simple pelmet detail are the usual design responses.
- Hob proximity to opening glazing: As a practical guideline, cooking zones should sit at least 900mm from openable glazing. Proximity creates draughts that affect induction hob efficiency and can cause persistent condensation on the glass in cold weather.
- Island orientation and circulation: In a space designed for indoor-outdoor living, an island oriented parallel to the bifolds maximises movement between kitchen and garden without forcing circulation through the work zone.
the right order of trades – and when the kitchen goes in
Sequencing the kitchen installation within a live build is one of the most practical coordination challenges. Kitchen cabinets installed too early are damaged by other trades. Installed too late, they delay the project and push back final decoration.
The typical trade sequence for an extension kitchen is:
- Extension structure complete, roof on, weathertight; windows and doors fitted
- First fix: gas capped and terminated at agreed positions; water roughed in; electrics run to kitchen specification
- Plasterwork complete – allow a minimum of four weeks to dry in spring or summer; six to eight weeks in autumn or winter
- Floor screed down and fully cured – 28 days minimum for a wet pour
- Pre-installation site survey by the kitchen designer
- First coat of decoration on walls and ceiling
- Kitchen cabinets installed
- Worktop template taken by the fabricator
- Worktop fabrication (typically 10–18 working days for stone)
- Worktop installed; final plumbing connections and appliance commissioning
- Floor finish installed up to the plinth line
- Final decoration; plinths, cornice and pelmet fitted
- Snagging, sign-off and handover
The plastering dry-out period is not a formality. Kitchen units installed in a freshly plastered space will move as the building dries and settles. Small alignment errors accumulate across a long run and become visible in gaps between units, doors that bind, and drawer-front misalignment. A proper dry-out before installation is the simplest and cheapest quality measure in the entire project.
“The question I’m asked most often when an extension project comes in is ‘when do you need to be involved?’ My answer is always the same: the same week you appoint your architect. I’ve worked on extension kitchens where the architect had done a brilliant job with the space but left no viable extract route – the cooker hood had nowhere to go except through a structural steel. I’ve seen full-height glazing approved at planning that removed every wall the kitchen needed for tall storage. These are not design failures. They are coordination failures, and they are entirely preventable at concept stage. The kitchen brief belongs in the design team conversation from day one. Treating the kitchen designer as a supplier you call after the build is complete is how projects go over budget.”
– Danil Sugakov, Director, Suga Küchen
common mistakes to avoid
- Agreeing services positions after planning permission is granted. Gas termination points, waste runs and extract routes need to be marked up before groundworks begin. Moving them after the structure is built is expensive and disruptive.
- Setting glazing widths without consulting the kitchen designer. A full-width rear elevation in bifold doors can eliminate every wall available for tall cabinetry. This is not irresolvable, but it has to be designed around – not discovered on installation day.
- Ignoring floor build-up depth when specifying underfloor heating. An additional 60mm of floor height in the new space changes plinth specifications and the threshold detail between the existing kitchen and the extension. Agree these before the screed is poured.
- Installing kitchen units before plaster is fully dry. Movement in a damp structure creates gaps, alignment issues and binding doors across a long kitchen run. The dry-out period is not optional.
- Treating MVHR ducting as an architectural afterthought. A service soffit required for MVHR ducting is a meaningful constraint on tall unit placement and ceiling line. Plan it in at concept stage.
- Leaving trade sequencing to manage itself. Without a clear, agreed written order of trades, kitchen installations regularly get scheduled too early or too late. Someone needs to own this – and it should be confirmed before the build starts.
frequently asked questions
Do I need an architect AND a kitchen designer for an extension?
Yes, and ideally they should be briefed together, not in sequence. An architect shapes the structural and spatial envelope; a kitchen designer shapes how you use it. When both are involved at concept stage, decisions about ceiling height, glazing layout and services routing are made with the kitchen brief in mind. When the architect finalises the design first, those decisions are effectively made without the kitchen.
When should the kitchen designer get involved in an extension project?
At concept stage, the same week you appoint your architect, before the planning application is submitted. Early decisions about ceiling treatment, rear-wall glazing and services routes have the largest downstream impact on the kitchen. Involving the designer after planning permission is granted means inheriting constraints that could have been avoided with a brief 30-minute briefing at the right moment.
Can the builder just fit the kitchen?
A builder can physically install kitchen units, but kitchen installation is a specialist trade. It requires precise levelling across a long run, knowledge of how services connect to specific appliances, and familiarity with the tolerances each manufacturer’s system demands. Most German kitchen manufacturers also require installation by an approved fitter for the warranty to remain valid. Using the kitchen company’s own installer protects both the finish and the warranty.
What ceiling height do I need for full-height kitchen units?
Standard full-height larder columns are 2,100mm or 2,300mm. Allow a minimum finished ceiling height of 2,400mm to accommodate these cleanly without a filler panel. For a frameless kitchen designed to run genuinely floor to ceiling, 2,500–2,600mm gives a more workable installation tolerance and a cleaner scribing detail at the top of the unit. Anything below 2,400mm begins to compromise the available tall-unit options noticeably.
Can a kitchen sit under bifold doors?
Base units can run below a bifold door frame, but the head section above the door frame is typically 200–400mm deep, too shallow for standard wall cabinets. Open shelving, a glazed cabinet panel, or a clean pelmet detail are the most common solutions in this zone. Keep the cooking area at least 900mm from any openable glazing to avoid draughts affecting the hob and cold-weather condensation building on the glass.
What is the best time of year to do a kitchen extension?
Starting the build in late winter or early spring tends to produce the best outcome. The structure reaches weathertight stage before summer, and internal plastering in April or May has warm, well-ventilated months to dry out before kitchen installation. Builds that reach plastering in October or November face slower dry-out, reduced trades availability around Christmas, and the real risk of the kitchen installation slipping into the new year.
Every kitchen we design follows the Suga Küchen 6-Step Design Guarantee, our process for catching the issues most extension kitchens get wrong before they reach your home.